
Why the Views You Choose Define the Message
Exterior architectural renderings communicate a design before a single foundation is poured. The views you choose matter as much as the quality of the 3D model itself. A beautifully detailed image from the wrong angle can leave clients confused, approvals stalled and key design moves invisible. This article focuses on one specific skill: selecting camera positions that genuinely explain a building to its audience.
Camera Position Is a Design Decision
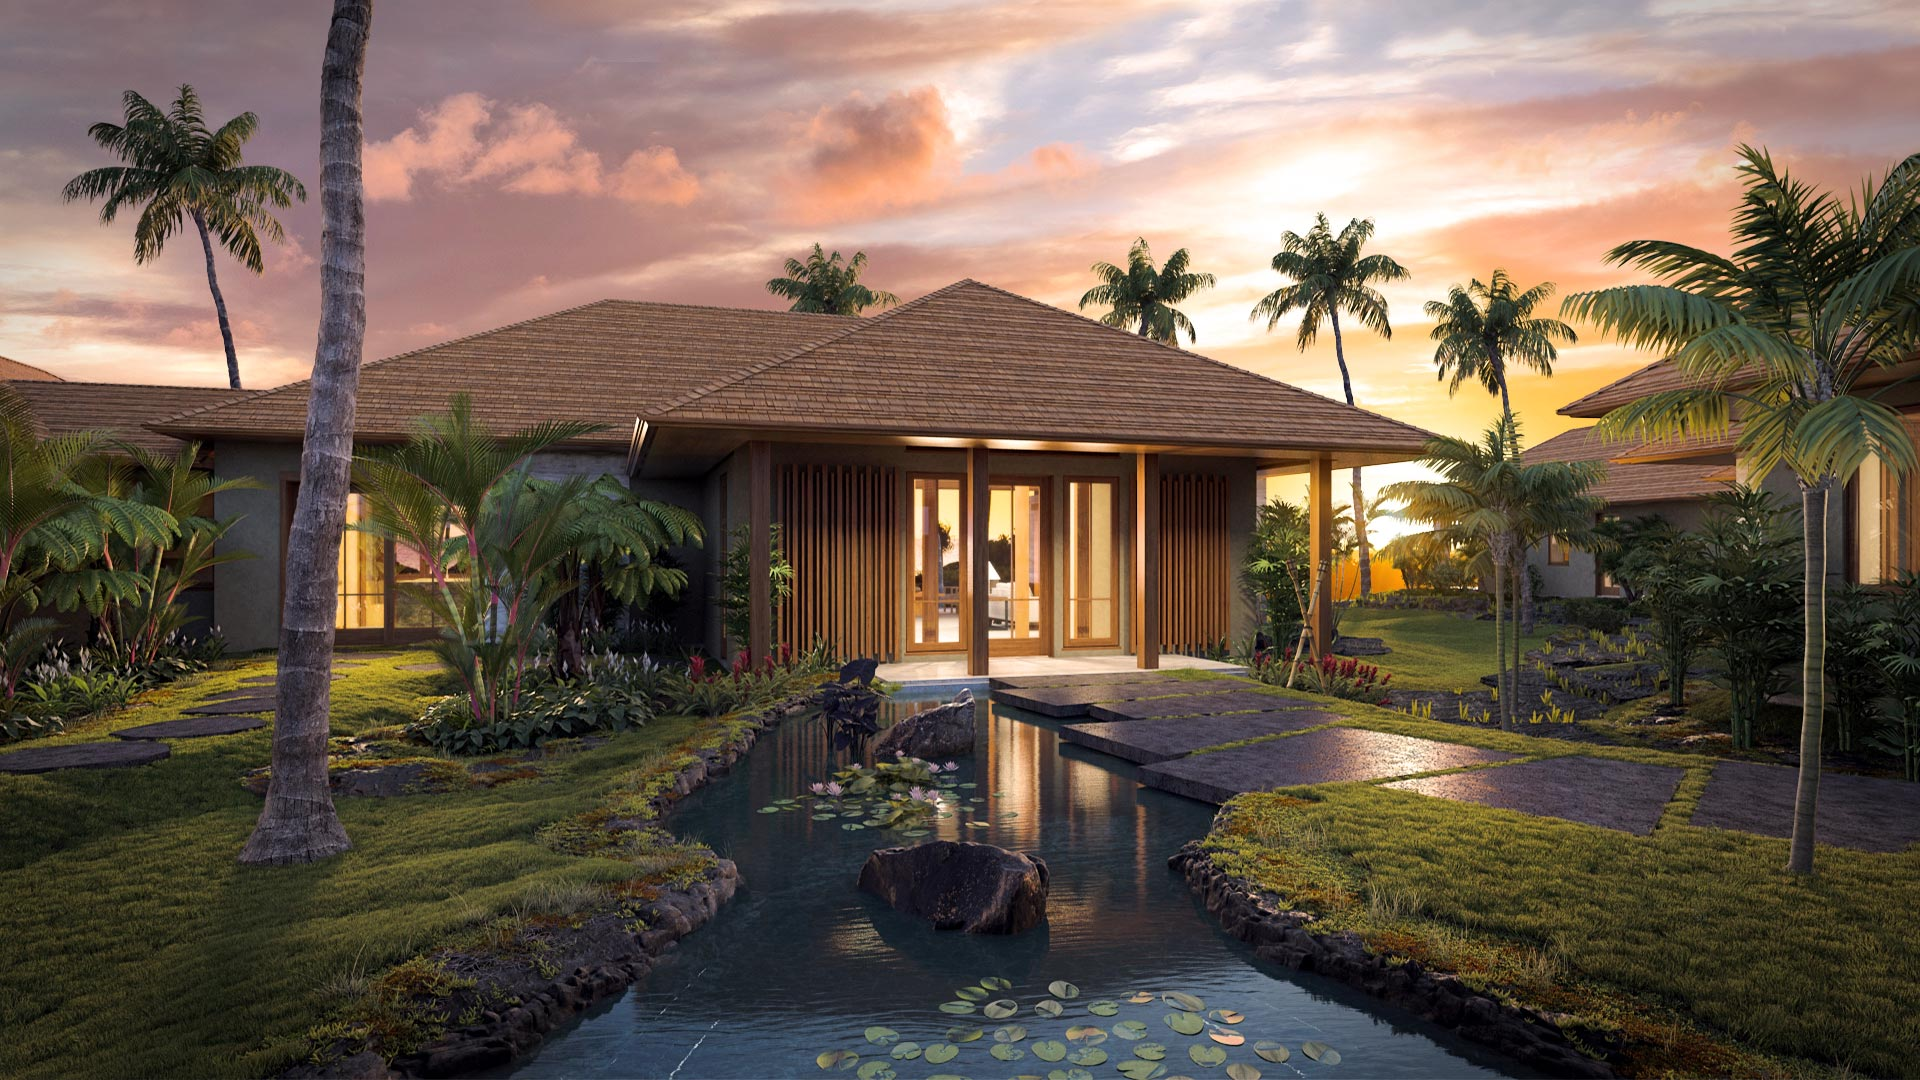
Every rendering starts with a question: what does this image need to prove? That question should drive the camera position, not habit. Many teams default to a three-quarter corner view because it feels like the standard exterior shot. Sometimes that is exactly right. Other times it hides the entry, flattens the roof or shrinks the most important facade.
Before placing a single camera, name the purpose of each image. Is this view for a planning board that needs to understand massing? Is it for a buyer who wants to feel the entry experience? Is it for a developer pitching investors on the streetscape? Each audience reads the same building differently. Good exterior architectural renderings answer the specific question in front of them.
Start With the Pedestrian Viewpoint
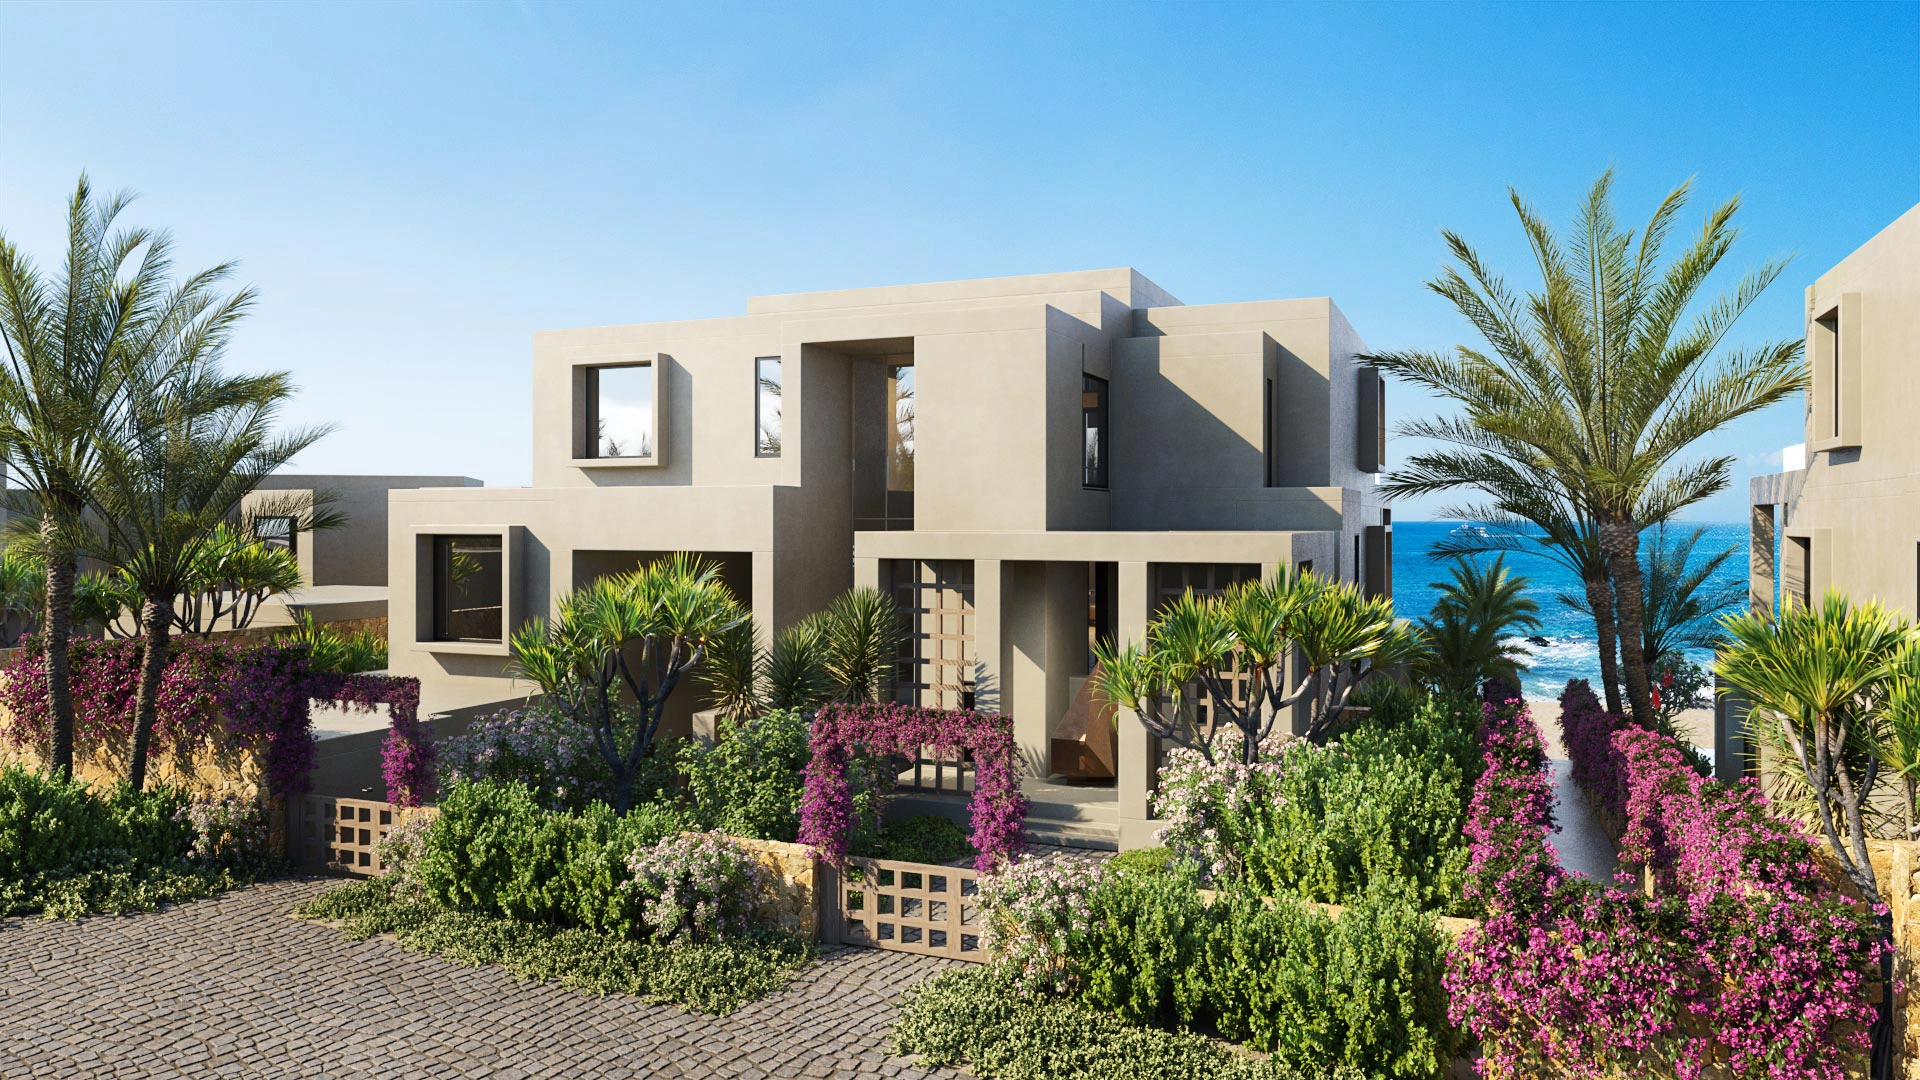
Human eye level sits roughly five to six feet above grade. That is where most people will actually experience a building. Starting a camera at this height grounds the image in reality. It shows how a neighbor, a pedestrian or a future resident will see the structure from the street or driveway.
High camera positions have their place. They show site relationships and roof forms clearly. But they do not tell a person what it feels like to arrive at a building. Consider a hypothetical narrow three-story townhouse. A bird's eye view might make it look modest. A pedestrian-level view from across the street could reveal how confidently its facade holds the block. The two images describe the same building but answer completely different questions.
Setting eye-level cameras early also catches problems. Neighboring structures, retaining walls and mature trees that disappear in aerial views will appear in the frame. That is useful information, not a distraction.
Showing the Entry Sequence
The arrival experience is one of the most important things exterior architectural renderings can communicate. A view that traces the path from street to front door tells a story. It answers practical questions. Where do I park? Where is the entrance? Does the approach feel sheltered or exposed?
This kind of view is not always a straight-on shot from the street. Sometimes the camera belongs on the driveway, looking toward the entry canopy. Sometimes it sits at the gate of a courtyard, pointing inward. The goal is to put the viewer on the path a real visitor would take.
Entry sequence views are especially useful for custom homes, resort properties and multi-unit buildings where arrival is a genuine selling point. They also surface practical issues early. If the entry is hard to read in the rendering, it may be hard to read in real life. That is good feedback to have before construction begins.
Roof Form and Facade Legibility
Some designs hinge on a roofline. A dramatic pitch, a butterfly roof, a layered overhang system: these elements deserve a camera position that shows them clearly. A low camera angle often hides a roof entirely. A slight elevation or a mid-distance angled view can bring the roof plane into the frame without making the image feel aerial.
Facade legibility works differently. A flat frontal view shows proportions and material layout with minimal distortion. It is not always the most dramatic image, but it can be the most honest one. Architects and planning reviewers often find elevation-aligned views more useful than dramatic perspective shots. They can measure relationships between elements more easily.
Consider pairing one straight-on elevation-style view with one angled perspective view for any facade that carries significant design intent. The pair gives both technical clarity and spatial depth.
Honest Adjacent Context
Exterior architectural renderings should show what actually surrounds a building, not a sanitized void. A house that sits between two large existing structures reads very differently than a lone building on an empty lot. Leaving out the neighbors does not make the design look better. It makes the image feel dishonest to anyone who has visited the site.
Showing context also helps with approvals. Planning boards and design review committees want to understand how a proposed building fits into its street or neighborhood. A rendering that honestly shows neighboring rooflines, setbacks and landscape gives reviewers the information they need.
Context does not need to be highly detailed. Neighboring buildings can appear as simplified massing. Trees and topography can be stylized. Accurate placement and scale matter more than full detail on every adjacent structure.
The Problem With Wide-Angle Lenses in Exterior Architectural Renderings
Camera field of view affects how a building looks, sometimes dramatically. In 3D visualization tools, field of view works similarly to lens choice in photography. A wide field of view includes more of the scene. Near objects may look much larger than distant ones. Tilting the camera can make vertical lines converge. Keep those effects distinct when you review a view.
3D tools handle camera perspective in ways that can be adjusted to reflect how human vision actually works. Camera documentation from tools like SketchUp explains how field of view settings change the way a model reads on screen: SketchUp’s guide to viewing a model. The principle applies across rendering workflows. A field of view that is too wide can make a well-proportioned building look distorted or exaggerated.
For exterior architectural renderings, choose the field of view to suit the purpose. A narrower view shows less of the scene from the same point. It does not recreate a camera placed farther away. To change the relationship between near and far objects, move the camera. Then check the framing again.
Coordinating a Complementary Set of Views
A single rendering rarely tells the whole story. Most projects benefit from a coordinated set of views where each image answers a different question. The challenge is making sure the views work together rather than repeating the same information from slightly different angles.
A useful set of exterior architectural renderings covers at least three distinct purposes: overall massing and siting, facade and entry character, and at least one view that puts the viewer inside the arrival sequence. Projects with complex roofs, multiple wings or strong landscape integration may need additional views to cover those elements.
The views should not fight each other. If two cameras are positioned similarly, one is probably redundant. Swap a redundant angle for a view that reveals something the others do not: a rear courtyard, a corner condition, a covered outdoor space.
Think about how the set will be presented together. Images that appear on a single page in a planning submission need to read as a coherent family. Images used in a sales presentation sequence need a logical order. Thinking about the final format early shapes which views belong in the set.
Thumbnail Drafts Before Detail Rendering
Committing to full-detail renders without testing camera positions first is a costly way to discover a view is not working. Thumbnail drafts are small, rough images used to test composition. They may use simple forms and basic light. They can reveal framing problems before the team adds fine detail.
A thumbnail answers key questions. Is the building legible from this position? Does the framing include the important elements? Does the image feel too compressed or too wide? Are there distracting foreground elements to address?
Reviewing thumbnails with the architect or developer before committing to final renders keeps the project efficient. A camera change is easier to assess in a rough draft. A change after final rendering can require another render and more review. The time involved depends on the scene and workflow.
For large projects with many views, thumbnails can be arranged in a simple grid so the client can compare all proposed positions at once. That overview helps teams catch redundancy and gaps before significant rendering time is invested.
A Hypothetical Three-View Brief
The following example shows how a view brief might be structured for a single-family residence. This is not a real project.
View one: street approach. Camera at pedestrian eye level, positioned on the sidewalk across the street, angled to show the primary facade and roof form together. Goal: demonstrate how the house addresses the street and fits within the neighborhood scale.
View two: entry sequence. Camera on the driveway, roughly twenty feet from the front door, looking toward the covered entry. Goal: show the arrival experience, the transition from open driveway to covered space and the material character up close.
View three: rear elevation from the garden. Camera at a slight elevation, positioned to show the rear facade, outdoor living area and landscape together. Goal: communicate the indoor-outdoor relationship and the private character of the rear yard.
Each view answers a distinct question. Together, they give a prospective buyer, a planning reviewer and the design team a complete picture of how the house lives in its site.
View Selection Checklist
Use this checklist when planning exterior architectural renderings for any project.
- Name the communication goal of each view before placing the camera
- Confirm at least one view uses pedestrian eye level
- Include a view that shows the entry arrival sequence clearly
- Check that roof form is visible in at least one image
- Include accurate adjacent massing and context
- Review field of view settings to avoid lens distortion on verticals
- Verify the view set covers distinct purposes with no redundant angles
- Request thumbnail drafts before committing to full-resolution renders
- Confirm the full view set reads clearly in the intended presentation format
Bringing It All Together
Choosing views for exterior architectural renderings is a strategic act. The right views make a design readable, defensible in review and convincing to buyers. The wrong views, even when beautifully rendered, can undermine the design they are meant to represent. Starting with a clear communication goal, grounding cameras at human scale, testing compositions early and building a non-redundant view set are the habits that produce images that do real work.
If you are planning a project and want to talk through which views will serve it best, start a conversation with Jeff Brink. Bringing a view brief into the process early saves time and produces exterior architectural renderings that genuinely explain the design.
For a broader look at the range of project types and locations Jeff Brink has worked on, the Jeff Brink Project Gallery is a useful reference. And if you are still working out the full scope of your deliverables, Architectural Visualization Services outlines every format available.